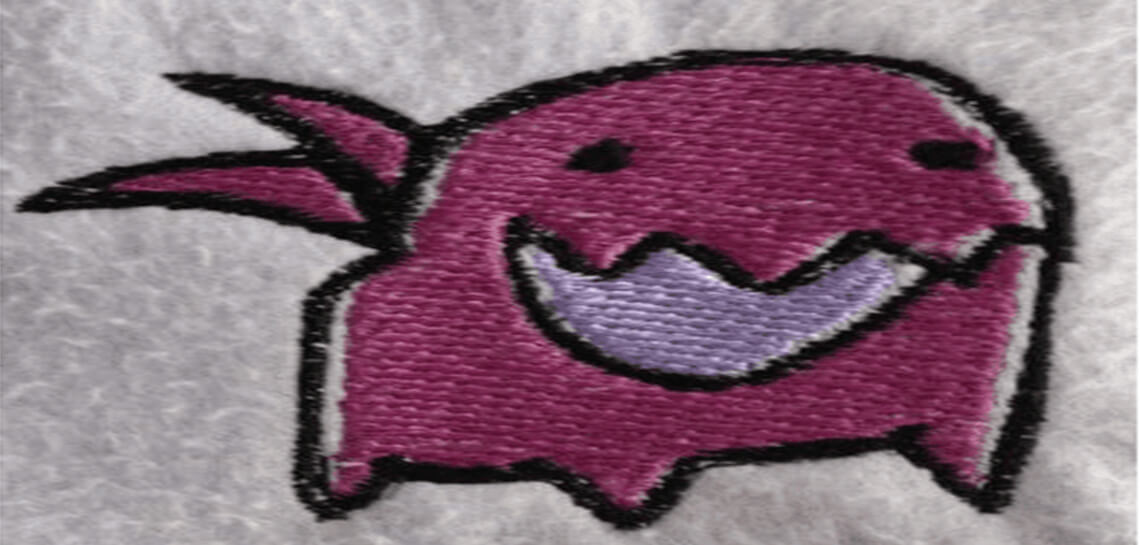
Do you account for push and pull compensation when digitizing a design?
One of the biggest blunders that embroidery digitizers new to this trade make is not accounting the push and pull compensation which can wreak havoc, especially when you’re working on bulk orders.
Every fabric has a natural stretch which can cause distortion and unevenness when the same design file is used on all of them.
So, the knowledge of fabric the design will be used on is crucial knowledge that an embroidery digitizer must know and account for. In this blog post, we will go through various fabrics and help you determine how much compensation you should use.
Let’s begin.
A Quick Look into the Types of Fabric
While manual embroiders work directly with fabric, they have a better knowledge of various fabrics. However, most beginner embroidery digitizers aren’t trained in this subject which causes them to make certain errors.
In this section of the blog, we will go through some common fabrics.
Knit Fabrics
Thee are made through knitting by needles which makes the clothes stretchy and flexible. So, naturally, because of the high flexibility, these fabrics must be compensated for when embroidery digitizing.
Woven Fabric
This kind of fabric is made by weaving the threads on a loom. This includes denim jackets, pants, and shirts, Carhartt, nylon, etc. Woven fabric is stable in the sense that they don’t stretch a lot. Which means very little compensation is required.
Terry Cloth
This is one of the most challenging fabrics out there as it can either be woven or knit. This also comes in various types such as heavyweight, light, and medium. The pull compensation depends on the embroidery size, design shape, and weight of the fabric.
A Note on the Push and Pull Compensation
In the world of embroidery digitizing, push and pull compensation plays a key role.
While the concept isn’t something that bothers hand embroiders as they manage the design manually, a machine has no understanding of the stretch a particular fabric has so, it all needs to be accounted for during embroidery digitizing.
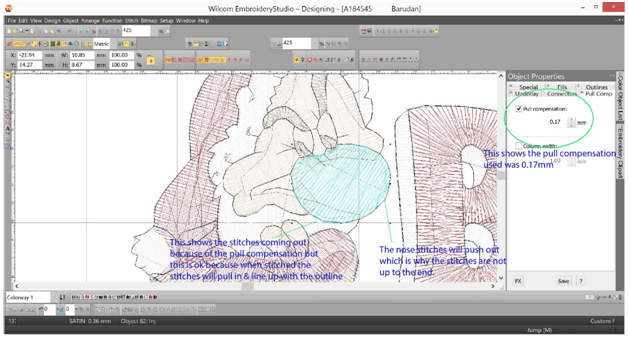
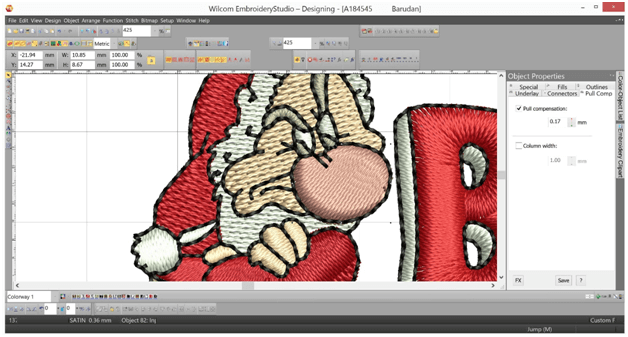
The stitch penetration point is where the needle goes through the fabric and is then met by the bobbin thread. These create a pulling effect when they meet. This effect is enhanced on a stretchy fabric or a long stitch.
So, pull compensation refers to managing this very effect.
The design on the digitized file and that on the fabric don’t always end up looking the same which is why it is crucial for the embroidery digitizer to understand the fabric and its characteristics.
Pushing around the corners and bunching can be observed when one’s working with various shapes which is why most fabrics require some form of compensation—especially the satin stitch.
The push and pull effect is significant when stitching over a large area. Long stitched invite pulls inside the edges, knit fabrics are prone to pulling, while woven fabrics are the least challenging.
The push effect, on the other hand, can be seen on the open end of the design such as the opposite side of the penetration area on the borders. These should be brought in by cutting them short. This matters a lot with the angles of the shapes.
Various Factors That Determine Push and Pull Compensation
One of the biggest questions to ask yourself when embroidery digitizing is how much stretch the fabric in question has.
Other important questions include:
● What is the width of the segment?
● What type of and how much underlay is being used?
Let us assume that the satin or column stitch is 2 mm in width; you need to add 0.15 mm more to it compensate. In case the stitch is 5 or 6 mm in width, you should add 0.25 to 0.30 mm (depending on the ability of the fabric to stretch).
Pique, which is a stretchy fabric needs about 0.40 mm pull compensation.
You must cut the push back to make it proportionally equal to the pull added when managing push compensation.
In this case, knit fabrics can pose a bigger challenge as compared to woven fabrics as they shrink during embroidery and are stretchy as well. An embroidery digitizer must compensate the pull during when digitizing the design.
The pull compensation added is the extra width put in to manage shrinking.
That being said, if you wish to sew the same design on two different fabrics such as a denim jacket and a t-shirt, you need separate files since these fabrics feature different push and pull compensations.
Different Adjustments are Needed by Different Machines
Since various machines and software are used in the industry, adjustments are required to be made.
Things get a little more complicated for embroidery digitizers as the newer machines have a different stitching result as compared to the older ones. So, it is important to adjust the same design when using different machines.
The adjustments can be with pull compensation or underlay.
Another thing to keep in mind when embroidery digitizing is that different softwares have different modes to measure some may offer choices in percentage while others in or in the column or absolute width.
So, one needs to learn about the system to manage the adjustments.
Things can differ when using an underlay since the auto option can set standard values. If you’re placing a 0.20 mm inset distance for the underlay, on auto settings, it may lead to the distance increasing by 0.20 mm from the needle penetration point.
Summing Up
One of the biggest blunders that beginner and intermediate digitizer make is not paying heed to the push and pull compensation.
This can cause blunders during the production process.
We hope that this blog post helped you understand the various fabrics and helped you determine how much compensation you should use.
